Recently I visited a weaver’s group on the Big Island in Hawaii. Several of the weavers had recently completed a course on weaving around a cardboard box loom, a la Sarah Swett.
I learned her technique from the article in Spin-Off magazine, Winter 1997. She has long been a great inspiration to me and I loved attending her workshop a few years ago. She wrote the article again for Handwoven magazine, 2007. She also wrote and illustrated a little book about this which she sells on Etsy, How to Weave a Bag on a Box.
Sarah recommends, and I concur, that the chosen box should be sturdy. A corrugated box with folded over edges (that normally form the top) is great. I like the priority mail boxes from the Post Office.
This post will not describe the process of weaving around a box. I hope you will buy Sarah’s book. There are also many people on the web who will tell you how to do this. I am only going to provide a few suggestions and several pictures. Of course, I will also be glad to come to you and given a workshop on this topic.
Tape the folded over box top bits to the inside of the box, both to keep them in place and to provide extra strength.
Make sure the warp is fairly taut as you put it in place. One type of warp you might choose is inexpensive Mays Carpet warp. It comes in interesting colors and is sturdy enough for this job.
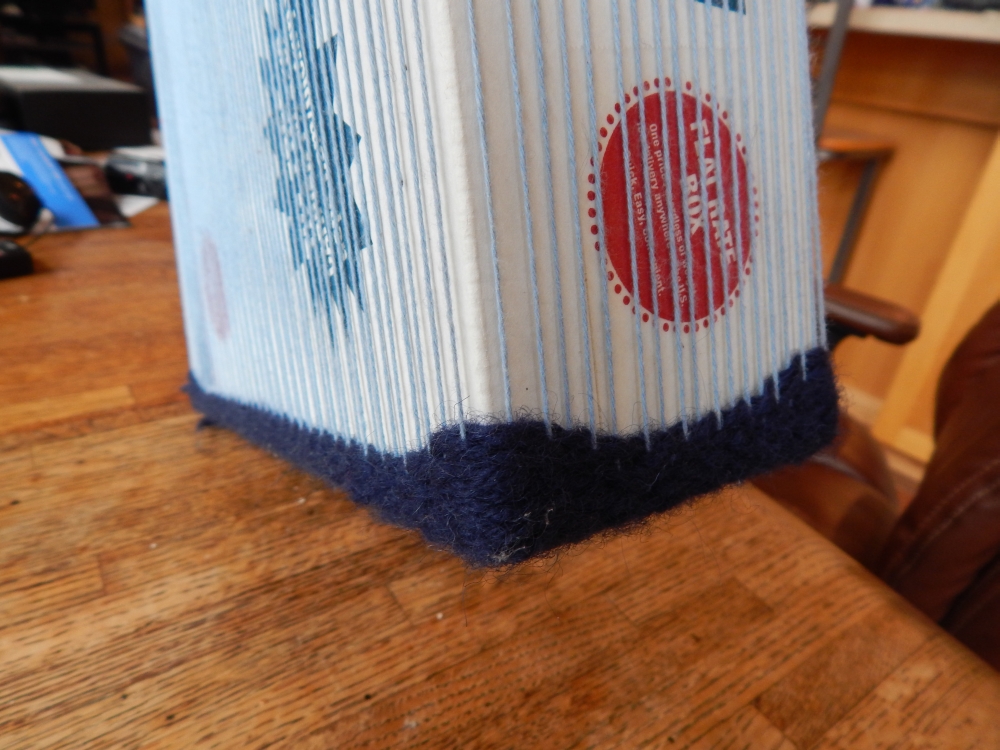
After the four sides are warped and the bottom is both warped and woven, but before you start weaving up the sides, consider this trick for strengthening the bottom corners of your bag:
Just as you are about to start weaving up the sides, make sure you are in one shed all the way around the bag. This means you can weave continuously around the bag without ever having the weft travel over/under the same warp twice.
Weave to a corner and around that corner about 6 warps. Then turn and weave back to the corner and back around the corner for 6 warps. For example, if you were weaving from right to left, go around the corner to the left, weave 6 warps, turn and weave back around past the corner to the right 6 warps.
Turn again and weave back around the corner and past for 5 warps. Turn and weave to the right past the corner for 5 warps. Turn again, weave around the corner to the left for 4 warps, turn and past the corner for 4 warps. Turn again, weave around for 3 warps, then 2, and then one. You will have built up a little triangle at the corner.
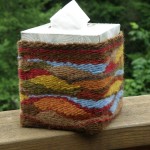
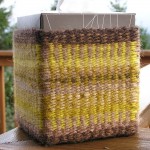
Now continue weaving down that hill and on to the next box corner on the left and repeat. When you are done you should have a little triangle at each corner. Pack these firmly and they will remain as sturdy little corners for your bag. In this photo the corners are in and I have woven around the box several times on top of them.
Box Corners
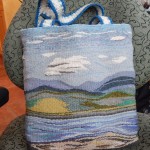
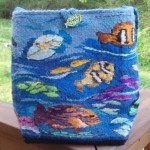
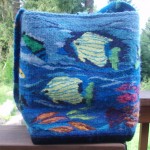
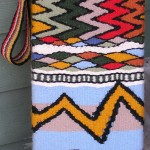
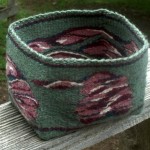
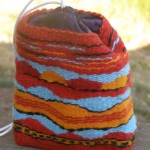
Ok, I have other things that require my attention now, but I am leaving you with a gallery of some of the boxes and bags I have made. Some, not all. Really. They are fun and can be as easy or as difficult as you want to make them.
18 year old bag in constant use
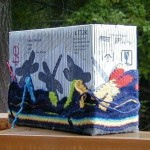
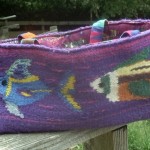
FishBag Side2
FishBag Side1
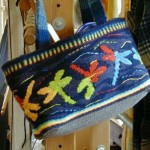
DragonFly-in progress
DragonFly_Bag_Hanging
Acrylic Lined Box
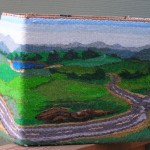
Ellipses
Endless Roads
Flute Case-Box Left in Bag for Stability
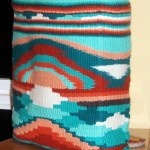
Green and Rose
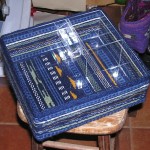
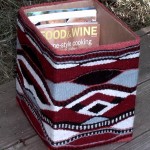
Magazine Box- Box Left in, Later Lined with Fabric
My post will be about using slits to create vertical lines. I will start with a bit of background information.
In tapestry, when two colors are side by side, they are either joined with a weft lock or not. Two colors of weft joined in a weft lock give a slightly jagged appearance.
Weft Lock startWeft Lock stack
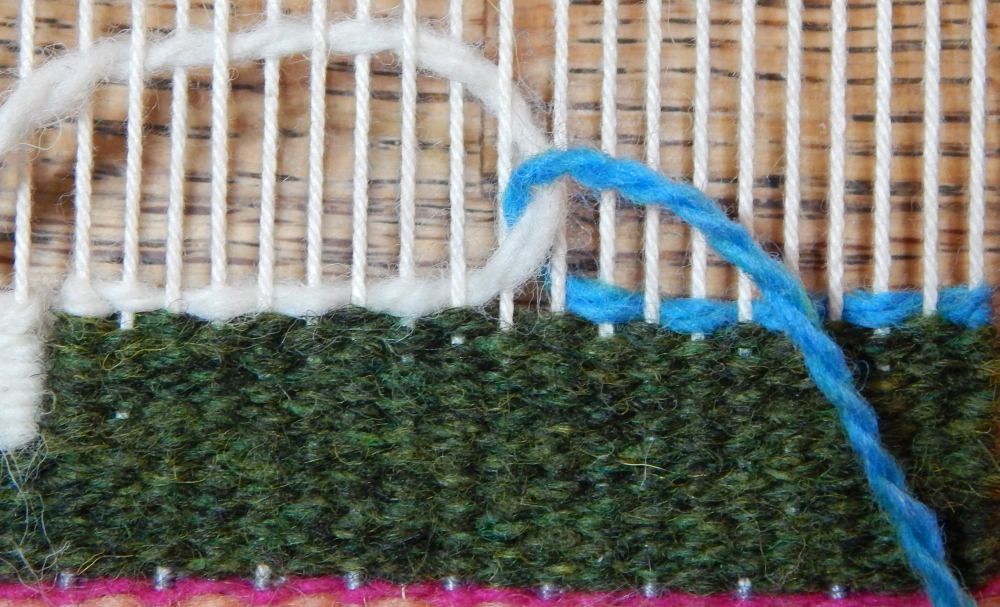
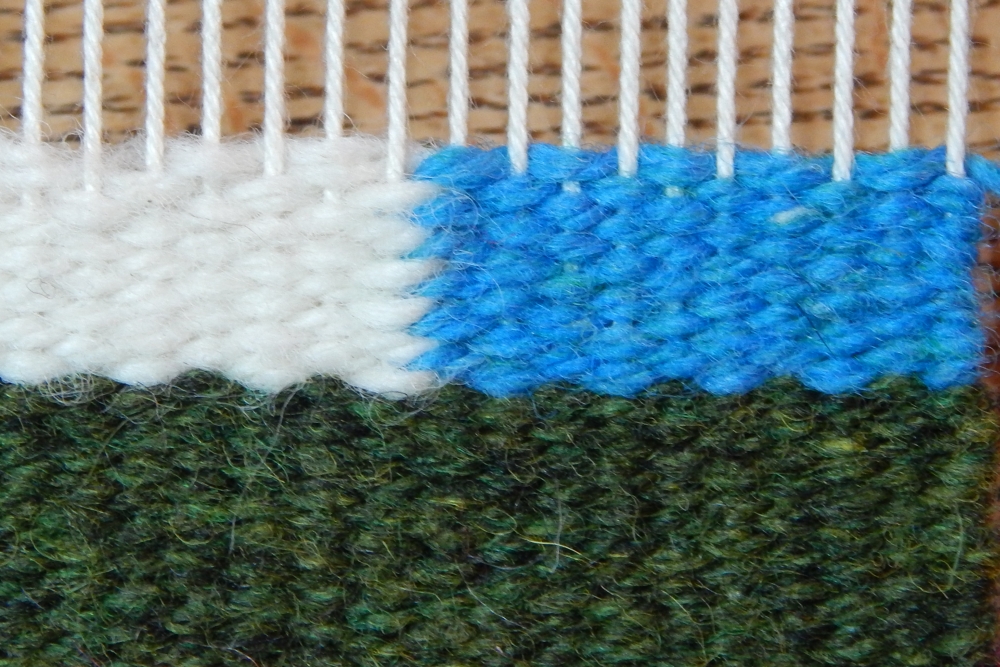
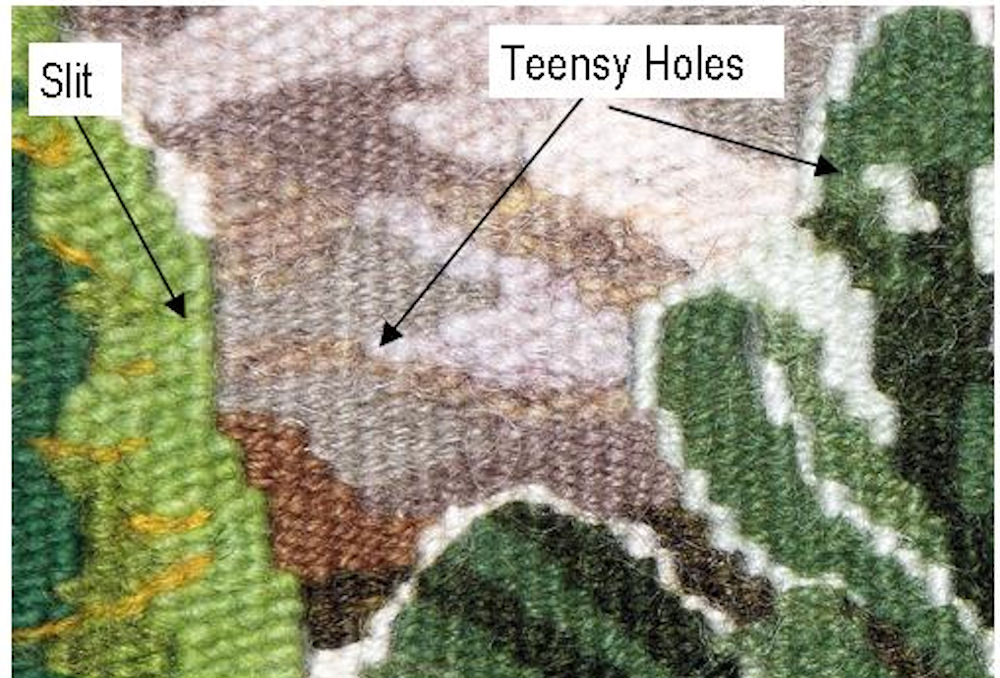
Not using a join creates a slit. One pass each of two colors side by side forms a teensy little hole, but several passes stacked on top of each other form a slit. (Pass: weaving back and forth one time.) A slit results in the appearance of a smooth vertical line.
Smooth vertical slit and teensy holes.
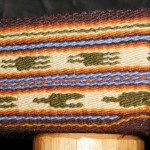
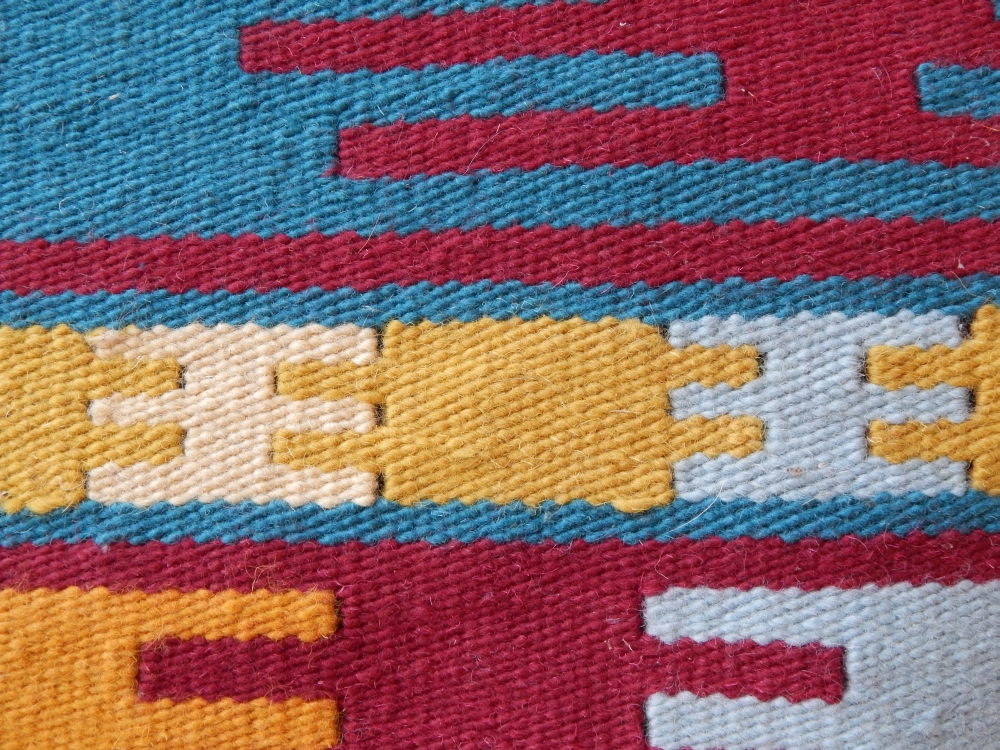
Anatolian kilims are also known as slit weavings because they are commonly made with the slit technique, although the slits are mostly less than one-half inch high. These slits are not usually sewn up.
Kilim with slits-detail
In many tapestries the slits are sewn shut as they are woven, or afterward when the tapestry is taken off the loom. If the tapestry is woven sideways and turned 90 degrees when hung, it is very important to sew the slits shut so that they do not droop over time and create holes.
Brennan and Maffei wrote a brief article describing three methods of sewing slits both on their website and in the educational page of the American Tapestry Alliance website-slits. Mastering the techniques of sewing slits as you weave is worth the time they take to learn.
Now, onto our current lesson, using slits as vertical lines.
Use the shadow created by the slit between two colors to create drama and dimensionality.
In this tapestry, Sunburn, artist Ruth Manning uses the slight shadow created by the vertical slit. She uses it in the neck to help pull it out from the background, which has similar value. She uses it to help differentiate one pant leg from the other, even though they are not exactly the same white. It even helps put the straps of the green shirt on top of the girl’s skin.
Sunburn. Detail. Ruth Manning
The shadow created by the slit can also be used between two areas of the same color yarn. Sometimes a weaver will use a single warp wrapped with a contrasting color to outline or to separate two areas woven in the same color, but it is often difficult, or too bold, and can be structurally unsound. A double weft lock can be used to structurally integrate a single warp outline, but that is a separate subject.
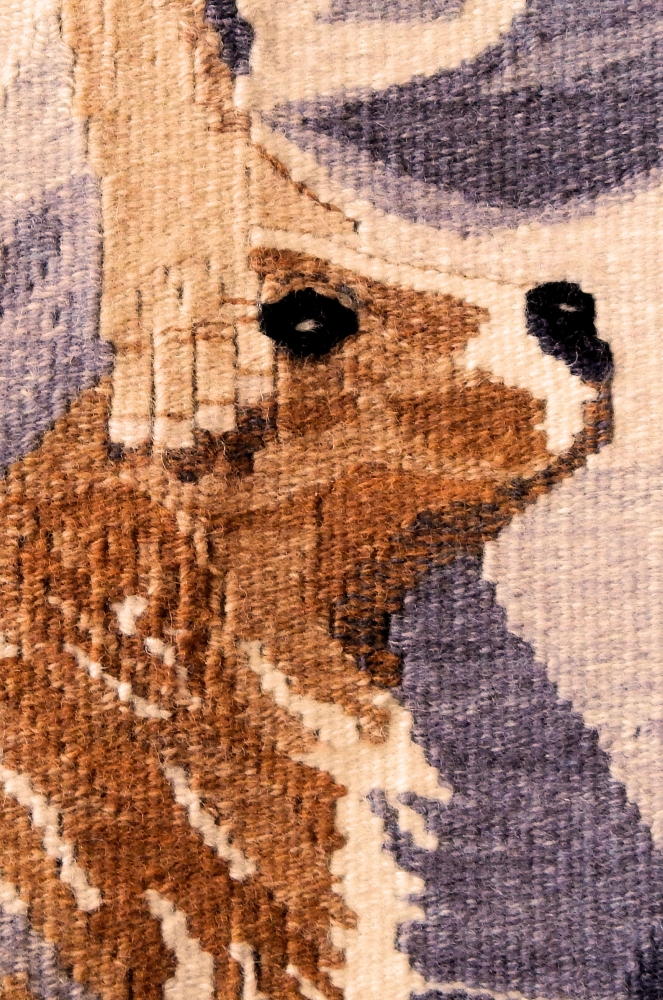
To create a separation or the illusion of an outline, the vertical slit can be used. I use it in the tapestry The Milk Maid and the Boss to create separate fingers in the milk maid’s hand.
The Milk Maid and the Boss. Detail. Terry Olson
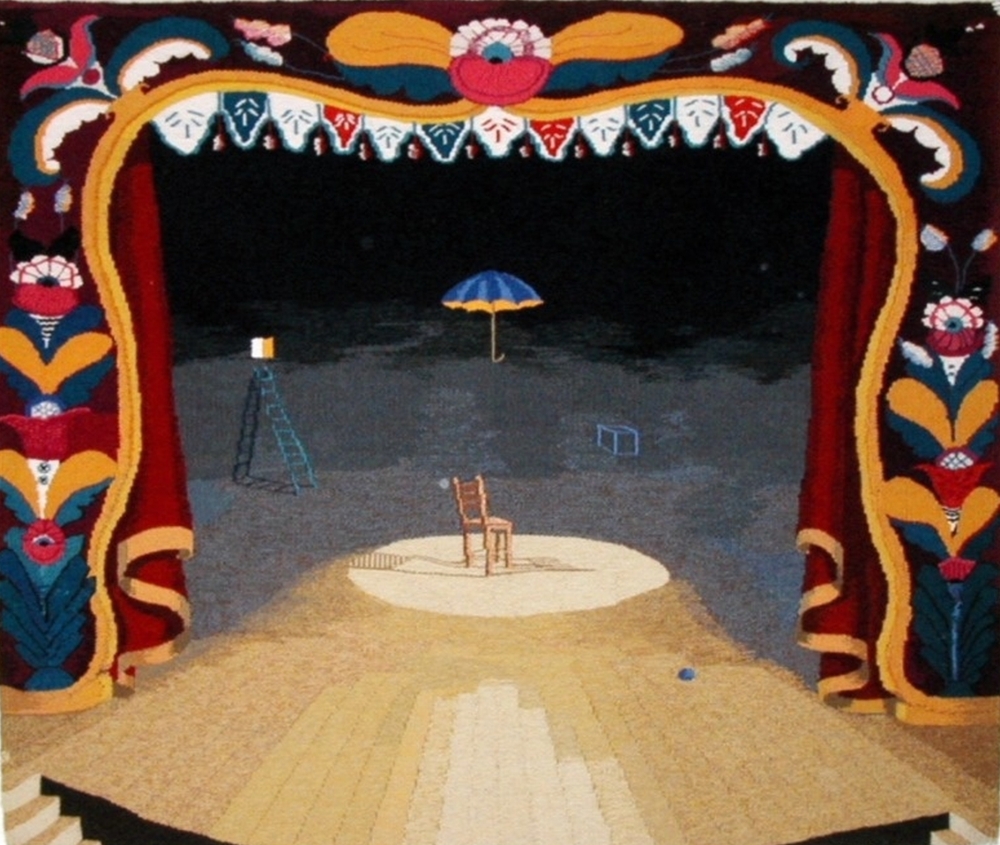
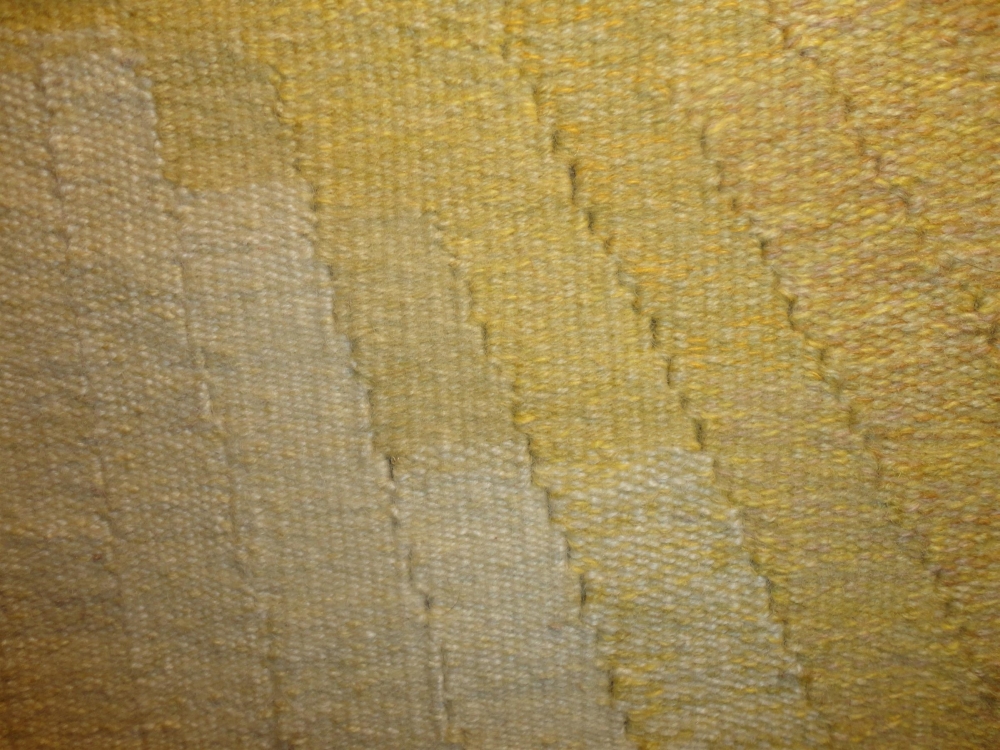
This technique is also used to great effect in the tapestry, Scenario Unknown, by Cecilia Blomberg, to separate the planks in the stage floor from one another. She uses it both between areas of the same color and between areas of similar color.
Scenario Unknown. Cecilia BlombergCloseup of Stage with Vertical Slits
She and her partners in Pacific Rim Tapestries also used this technique to separate the planks in the bottom of a rowboat in this tapestry woven for a Children’s Hospital in Tacoma, WA.
Closeup of Rowboat Floor
Just a few more details and this blog will end. Keep in mind that when you create a slit, or any turn, there is twice as much yarn at that point than between any other two warps, so pull each color tight enough to keep loops from forming at the turn. If you want to accentuate or exaggerate the slit, you can pull even more and separate the warps a bit. Be careful doing that as you are pulling your warps out of alignment!
Some weavers choose to sew the slits afterward, from the back, instead of using the sew-as-you-go methods described in the article by Brennan and Maffei. If you choose to do this, just try even harder than usual to maintain a correct warp spacing throughout your weaving. This can be challenging.
As for the prizes, every week you have a chance to enter to win one of two prizes. The first is a one-year membership to the American Tapestry Alliance. The second is a one-year membership to ATA AND a free entry to the exhibition this blog tour is all about, Tapestry Unlimited: 11th International Unjuried Small Format.
Details on how to enter the Unjuried Small Format exhibition can be found on the American Tapestry Alliance website, along with the entry page. Everyone who signs up to participate by January 31, 2016 will be included in the exhibition. Your tapestry needs to be photographed and mailed before the end of March 2016. The entry fee for the exhibition is $40US and includes an exhibition catalog and return postage.
If you aren’t too tired, you might check out some of the other blogs on my website, where I show examples of the different group challenges woven by the members and students of the Damascus Fiber Arts School for the past five iterations of the Unjuried Small Format Show sponsored by ATA.
Please check in to the rest of the Tapestry Unlimited Blog Tour.
The American Tapestry Alliance is a nonprofit organization that provides programming for tapestry weavers around the world, including exhibitions (like Tapestry Unlimited), both juried and unjuried, in museums, art centers and online, along with exhibition catalogues. They offer workshops, lectures, one-on-one mentoring and online educational articles as well as awards, including scholarships, membership grants, an international student award, and the Award of Excellence. They also put out a quarterly newsletter, monthly eNews & eKudos and CODA, an annual digest. Members benefit from personalized artists pages on the ATA website, online exhibitions, educational articles, access to scholarships and more.
The Tapestry Unlimited Blog Tour is in celebration of ATA’s annual unjuried exhibition. Tapestry Unlimited; 11th International, Unjuried Small Format exhibitionis open to all weavers. We are expecting upwards of 250 participants who will show their work at the Milwaukee Public Library this upcoming summer. Everyone who signs up to participate by January 31st 2016 will be included in the exhibition, and your tapestry does not need to be mailed to us until March 2016. There is an exhibition fee of $40 which pays for both the return postage for you tapestry as well an exhibition catalogue, which everyone’s tapestry will be featured in. We invite entries which work within more traditional definitions of tapestry as well as ones which expand upon them, including multimedia work.